One of the quintessential dishes of Singaporean cuisine, Hainanese Chicken Rice is a bone-deep satisfying meal dished up everywhere from Hawker’s Markets to fancy restaurants. It is an excellent example of how ingredient repetition need not render a meal boring or feel repetitive - the ginger, sesame oil, and garlic are powerful flavours, but come across differently in each item on the finished plate.
This recipe serves 2-4 people (or more, if you double the rice), but in our house it is the start of a multi-meal whose leftovers evolve into two more dishes over the following days (see Multi-meal, at the bottom of this post).
Hainanese Chicken Rice
Adapted from
Steamy Kitchen
Chicken
1 whole chicken (about 1.5 kg)
Fresh cool water to cover the chicken
2 teaspoons kosher salt plus extra for exfoliation (as described below)
5 cm chunk of fresh ginger, peeled and sliced
2 stalks green onions, cut into two-inch lengths
Basin of ice water
1 teaspoon toasted sesame oil (for after the chicken is cooked)
Rice
15 mL (1 tablespoon) chicken fat or canola oil
1 large clove garlic, minced or crushed
15 mL (1 tablespoon) minced fresh ginger
200 grams (1 cup) raw basmati rice, washed until the water runs clear
310 mL (1 1/4 cups) reserved chicken poaching broth
1/2 teaspoon toasted sesame oil
1 pinch kosher salt
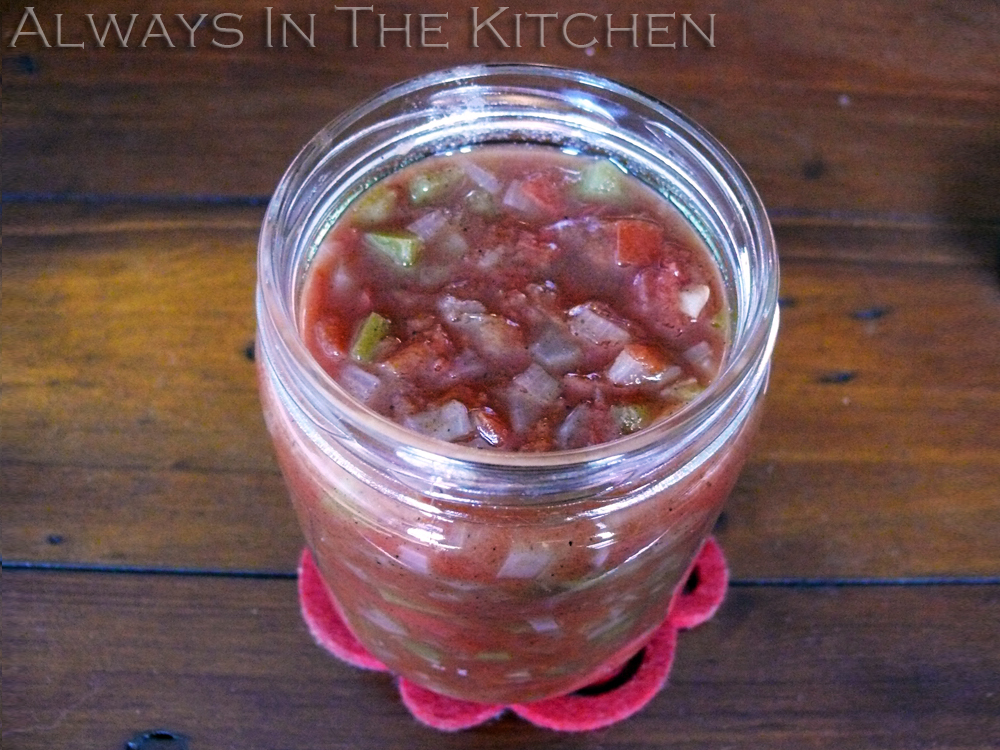
Chile Sauce
15 mL (1 tablespoon) fresh lime juice
30 mL (2 tablespoons) reserved chicken poaching broth
10 mL (2 teaspoons) sugar
60 mL (4 tablespoons) Sriracha sauce
4 cloves garlic
30 mL (2 tablespoons) minced fresh ginger
a pinch of salt, to taste
To serve
Dark soy sauce (in a dish, or just the bottle)
Green onion, finely sliced on the bias
Cucumber, thinly sliced
First, you must exfoliate the chicken. Rinse the chicken inside and out and place on a clean plate. Use a small handful of kosher or pickling salt to gently massage the chicken all over, being careful not to tear the skin if possible. Rinse the salt away and stuff the chicken with the ginger slices and green onion pieces. Place the chicken in a large stockpot and add fresh cold water to cover (it’s okay if it doesn’t quite cover - the breast will still cook if it sticks up above the water level). Add salt. Cover and bring the pot just barely to a boil over high heat, then immediately turn the heat to low to keep a bare simmer, checking from time to time. Simmer for about 40 minutes (less for smaller chickens).
While the chicken simmers, get your mise en place in order for the chile sauce and the rice. That means, mince the ginger for both the rice and the sauce, peel the garlic and set aside, and wash, wash, wash the rice in cool water until it runs clear. Set the rice aside in a strainer to drain. You can put the sauce ingredients all (except for the broth) into a blender cup now, if you like.
Once the chicken is cooked through, turn off the heat and remove the pot from the burner. Carefully lift the chicken from the broth (I lift it by inserting a wooden spoon into the centre and tilting it up so that the juices run out of the cavity) and into a basin of ice water to cool. You will need the broth for the rice, sauce, and side bowl of soup. I like to have my basin in the sink, so that I can and add more fresh cold water over the chicken to help the skin achieve the firm, springy texture associated with this dish, and I like to change the cold water once as it rests. Let the chicken rest in the cold water while you start cooking the rice. Remove any aromatics (ginger, green onion) from the broth, and return the pot of broth to the stove to stay warm over low heat.
Rice: You rice should by now have been rinsed and drained and is resting nearby in a sieve. Heat the chicken fat or canola oil over medium-high heat in a medium saucepan. Add the ginger and the garlic and pinch of salt, and stir fry until fragrant but not coloured. Add the sesame oil and then drained rice and stir to coat each grain with the fat and seasonings.
If you’re cooking the rice on the stovetop, add the 310 mL of hot poaching broth to the rice and stir it through. Turn the heat to the lowest setting, and cover the pan with a tight fitting lid. Set the timer for 15 minutes, and when it rings remove the rice pot from the hot burner and, without lifting the lid, set it aside to rest somewhere for another 15 minutes. Fluff, and it's ready to serve.
If you’re cooking the rice in a rice cooker, use a spatula to scrape the rice/fat/seasoning mixture into the rice cooker, add the poaching broth, and then turn it on according to your rice cooker’s instructions.
While the rice is cooking, remove the chicken from its ice bath and pat dry with paper towels. Using your impeccably clean fingers, rub the outside of the chicken with the sesame oil, and let it stand until needed. Just before the rice is finished resting, carve the chicken for serving and arrange on plates, and then add the rice once it's ready. For a nice tidy dome of rice, pack it lightly into a measuring cup and overturn onto the plate. I find a 3/4-cup measure works perfectly, yielding 4 portions of rice from 200 grams (1 cup) of raw rice.
Chile Sauce: combine all chile sauce ingredients in a blender cup and process until smooth. Stick blenders work very well for this. The first time I made this, I didn’t have access to any mechanical means to puree it, so I simply finely chopped everything by hand. That also worked very nicely, but it was of course not a smooth sauce.
Soup: You should have several cups of the chicken-poaching broth available. Ladle into small bowls and garnish with some finely sliced green onion.
Serve the chicken and rice with cucumber slices, and a bowl of the soup on the side. Place the chile sauce and some dark soy sauce on the table for individuals to use at will.
 Multi-meal
I mentioned at the start of this post that this is a multi-meal dish for our household of two (your mileage may vary, depending on your family size - for bigger families, you would want to have doubled the rice recipe above). This is what I do:
Finally, after you’ve eaten and had a little rest, strip the remaining chicken meat from the bones, and put in a container in the fridge. As for the bones, you can either discard them, or add them back into the soup pot and simmer them for another hour or so for a much stronger broth. Cool and strain the broth, and transfer to fridge/freezer friendly containers. Cool and refrigerate any leftover rice.
The next day, leftover rice and about half of the leftover chicken meat are converted into fried rice (this is an especially good use for any leftover skin!) with the addition of a little extra onion, ginger, garlic, beaten egg, low-sodium soy sauce, any any other vegetables you’ve got kicking around. (For fried rice technique, please see
my post on fried rice, and adapt as necessary.) Serve with leftover chile sauce, if you have any.
The following day, the leftover broth (or some of it) is used to make
congee, by adding some water, washed raw rice, and the remaining chicken meat (added at the very end). Serve with leftover chile sauce, if you have any.
Alternatively, you could stash all of the broth in the freezer and use that instead of water for the next time you want to make Hainanese Chicken Rice. Because, there will be a next time. If you have lots of broth, you can split the difference.
Three delicious meals from one master-meal.