It's been a while since I made a rice-based skillet dinner, so I thought it was time. You can easily adapt this recipe to use boneless chicken thighs, if you prefer, simply by shortening the cooking time and finishing the cooking solely on the stovetop. However, you won't get quite as pretty an effect, and of course, you won't get the crispy, delicious chicken skin.
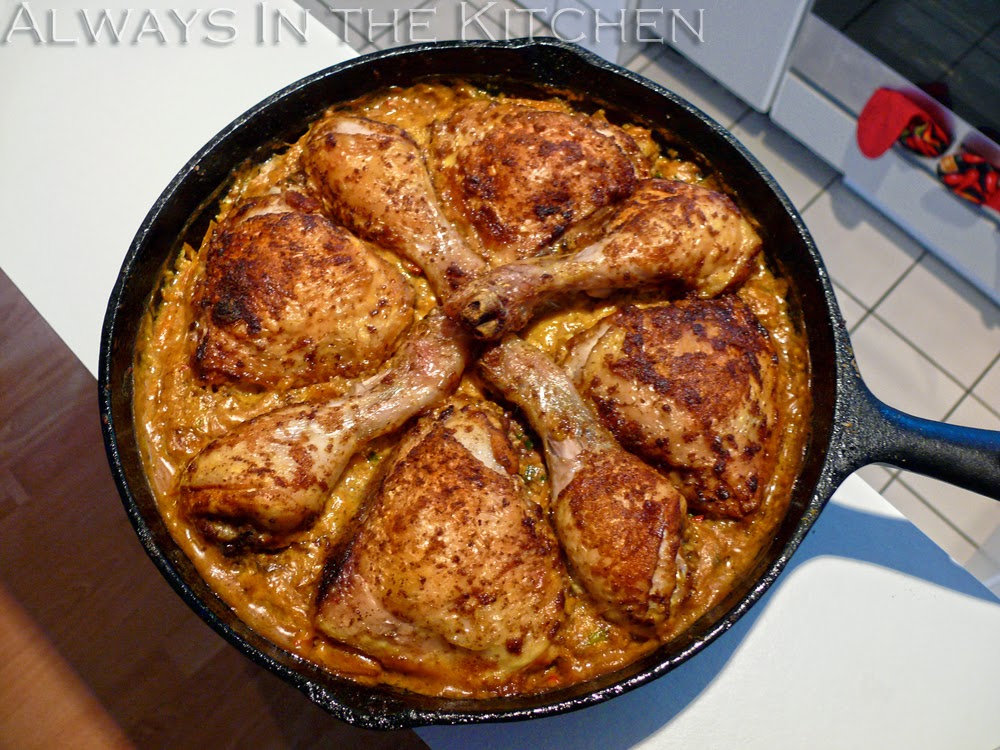
Caribbean Curried Chicken Skillet Dinner
Serves 4
8 bone-in chicken pieces
1 tablespoon unbleached flour
2 — 3 tablespoons Jamaican-style curry powder*
1 tablespoon peanut oil
1 cup parboiled rice
2/3 cup coconut milk
1 1/3 cups water
3 tablespoon shredded unsweetened coconut, toasted
2 large carrots, shredded
30 grams sultana or golden raisins
1/4 cup finely sliced green onions
1 — 2 Scotch Bonnet Chili peppers, minced
Preheat oven to 400 F.
Combine the flour, curry powder (and salt, if you are using an unsalted curry powder) in a shallow bowl, and toss the chicken pieces to lightly coat.
In a large skillet over medium heat, heat the peanut oil and add the chicken pieces, skin side down, working in batches if you need to. Sear the chicken until darkly golden brown on the skin side, about six to eight minutes, and then flip over to brown the other side, too (for about five minutes). Set the chicken aside on a clean plate.
While the chicken is browning, combine the coconut milk, water, and the remaining curry powder/flour mixture, whisking until smooth, and have it standing ready.
When all of the chicken is out of the pan, drain most of the fat (and any loose browned curry powder) leaving only a thin layer of oil in the pan. Add the shredded carrots, green onions, scotch bonnets, and raisins. Stir and fry for a minute or so, before adding the rice and toasted coconut. Stir around until the rice is thoroughly coated, scraping the bottom of the skillet with your spoon or spatula so that everything is evenly integrated.
Add the coconut milk mixture to the rice and stir well, to ensure that nothing is sticking to the bottom of your skillet.
Return the chicken to the pan, placing each piece skin-side up in a single layer so that the skin is not submerged in the liquid. Place skillet uncovered in the hot oven, on a middle shelf for 30 minutes. (check at 20 minutes to see if more liquid is needed).
Remove chicken pieces from the skillet onto serving plates, and spoon up the rice with a big serving spoon. The rice will be creamy-textured rather than pilaf style. If I have leftovers, I take the meat off the bones before cooling and refrigerating, to make re-heating in a skillet or microwave easier.

This dish can be pretty fiery and intense, so a fresh green salad will help provide a cooling counterpoint.
*Use a Jamaican-style curry powder if possible. Also, check to see if your curry powder contains salt; if not, you may want to add a half-teaspoon of kosher salt (or coarse sea salt).


