The most shocking thing about this dish is how quick and easy it is. The second most shocking thing is how delicious it is. The only reason for those two things to be in that order is that you have to make it before you can taste it. Fortunately, that doesn't take long.
Many Indian recipes seem daunting, because they contain a laundry list of spices (possibly some obscure, if you don't have a large spice collection), and a great deal of chopping. Most shortcuts involve pre-packaged sauces that, while convenient, never seem to deliver the right intensity of fragrance that one gets from cooking from scratch.
Now, I should confess straight away that there is in fact a convenience item that makes this whole thing work. If you're fanatical about doing everything from scratch, go ahead and make your own hot mango chutney (I suppose you'd need to make your own tomato paste, too, in that case, but your mileage may vary). If you just happen to have some of your own mango chutney jarred up from a canning session, or lurking in the fridge from a recent previous endeavour, then use that (and I salute you!), but you get a pretty good result from a quality store-bought chutney.
This dish isn't precisely sour in the vinegary way that Chinese sweet and sour can be, but the mango chutney (and the yoghurt) give it a tanginess that skews to the sour side of the palate and offsets the sweetness beautifully. You may want to serve a vegetable side dish (or an aggressive array of side condiments). I recommend curry-roasted cauliflower florets, banana (raita or pachadi), or carrot raita to get some more vegetable matter onto your plate, but you could also add some quick-cooking vegetables, such as peas, half-way through the simmering time.
If, like me, you don't have a balti pan, you can use a wok, which is very similarly shaped. Failing that, you can use a large skillet, which works just fine.
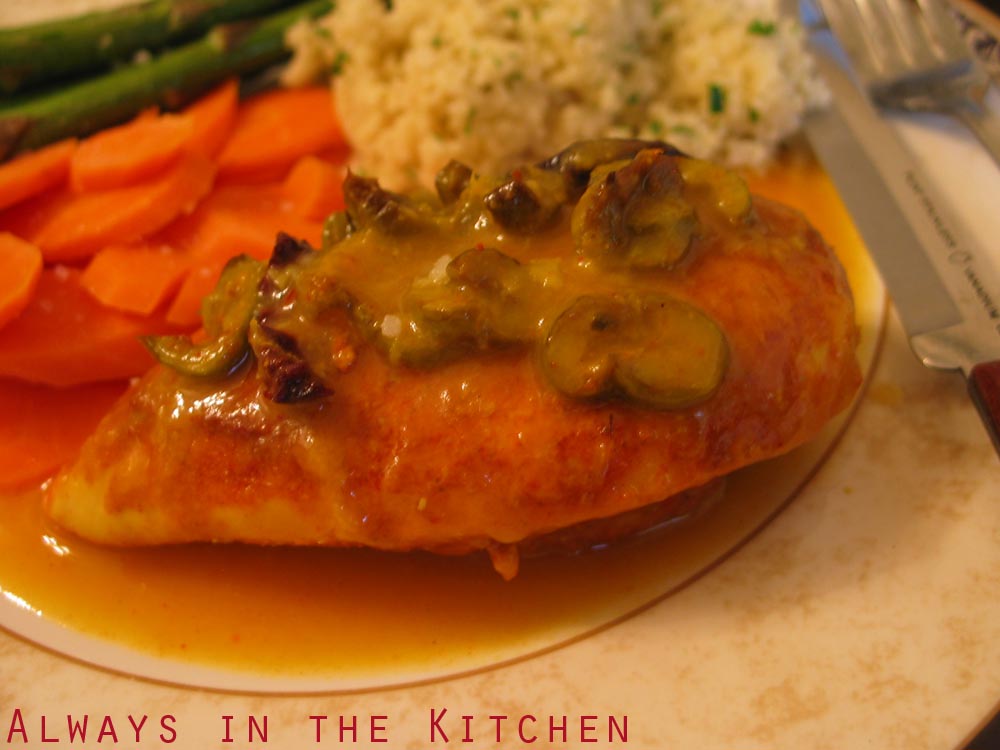
Sweet & Sour Balti Chicken
Serves: 4
Total Prep & Cooking Time: 20 minutes
750 grams chicken (boneless, skinless)
3 tablespoons tomato paste
2 tablespoons plain Greek yoghurt
1 ½ teaspoons garam masala
1 teaspoon cayenne pepper
2 cloves garlic, crushed
2 tablespoons hot mango chutney
½ teaspoon kosher salt
1 teaspoon sugar
3 tablespoons canola oil
¾ cup water
1-2 serrano peppers, thinly sliced
¼ cup cilantro
2 tablespoons Half & Half / light cream
In a medium bowl, combine the tomato paste, yoghurt, garam masala, cayenne, crushed garlic, mango chutney, salt and sugar, and stir until smooth. If your chutney has huge pieces of mango, you may want to chop them up a bit, otherwise leave any chunks whole.
Dice the chicken into bite-sized pieces.
In a large skillet or wok, heat the oil over medium and scrape the tomato-yoghurt mixture into the hot oil. Stir gently but thoroughly, reduce the heat and cook for about 2 minutes, stirring occasionally. The paste and the oil will not truly integrate, but remain partially separated - that's okay.
Add the chicken to the pan, and stir to coat evenly with the tomato mixture. Add the water, and stir gently until the sauce becomes smooth and liquid. Simmer for about 8 minutes, or until the chicken pieces are cooked through and the sauce has thickened slightly. You may lower the heat and add a lid if the sauce is becoming too thick, or add another tablespoon or two of water.
Add half of the serrano chile slices and the light cream, and cook for 2 minutes, stirring gently.
Serve garnished with the remaining chiles and roughly chopped cilantro.